Friday, September 30, 2016

The Lid And How To Make It

Here is my lid material cut to approximate length. I am using triangle marks to show orientation of the pieces.


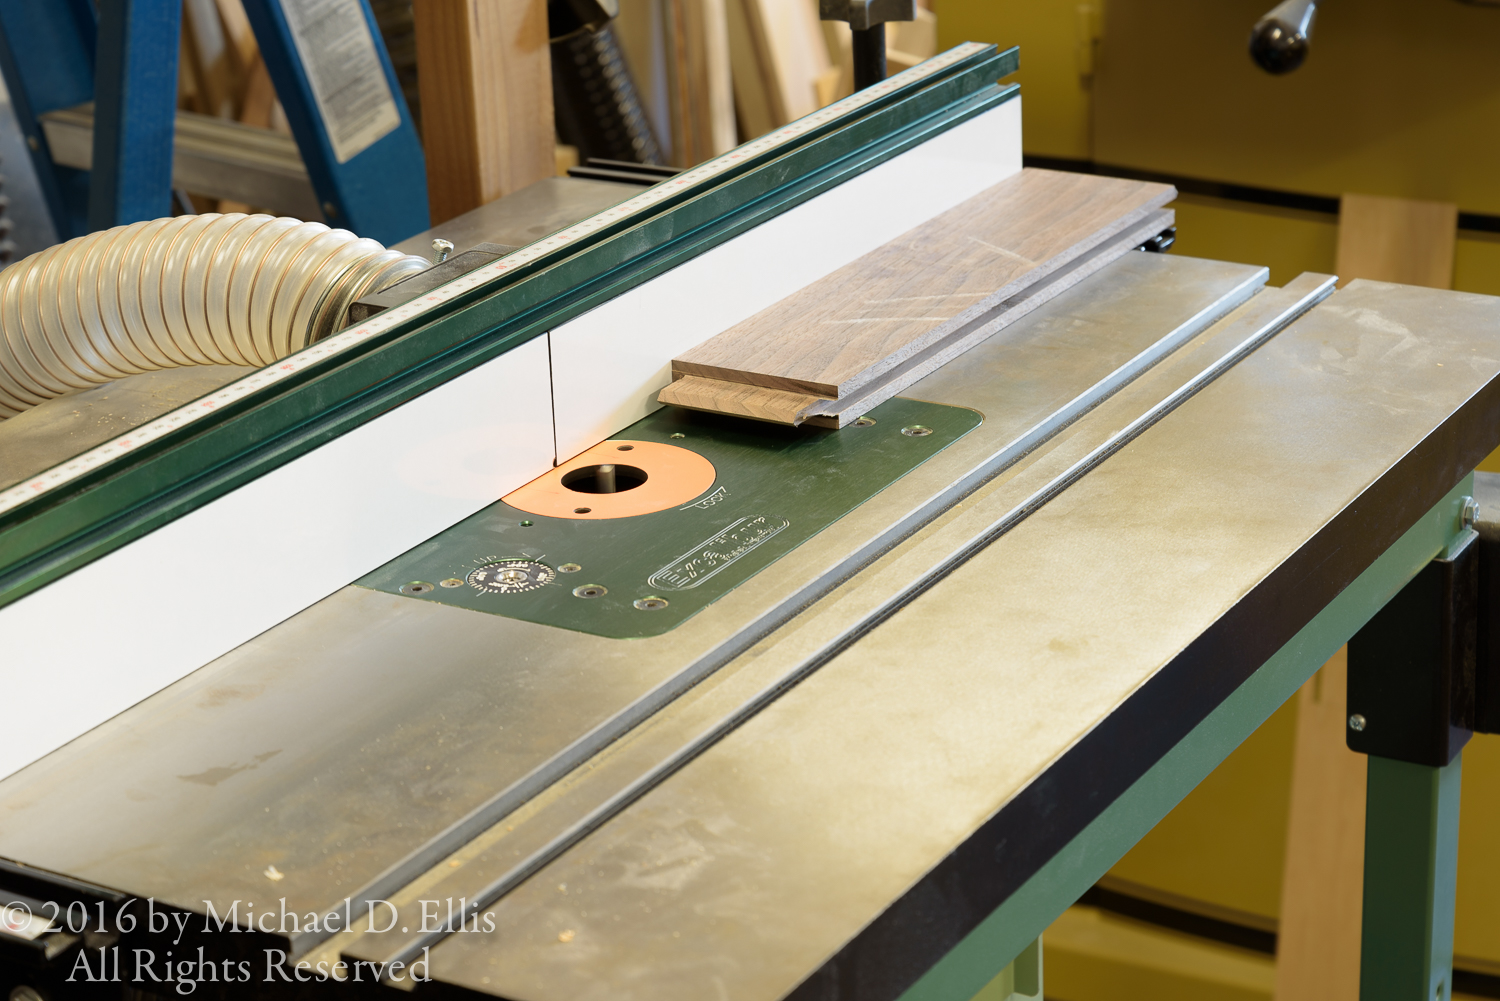
I flatten on the jointer and square an edge, then run through the planer.


Now I check the fit and set up for glueing. I have some Bessey clamps and often don't need clamp blocks. Below I have dry clamped the first two pieces I will be gluing. 


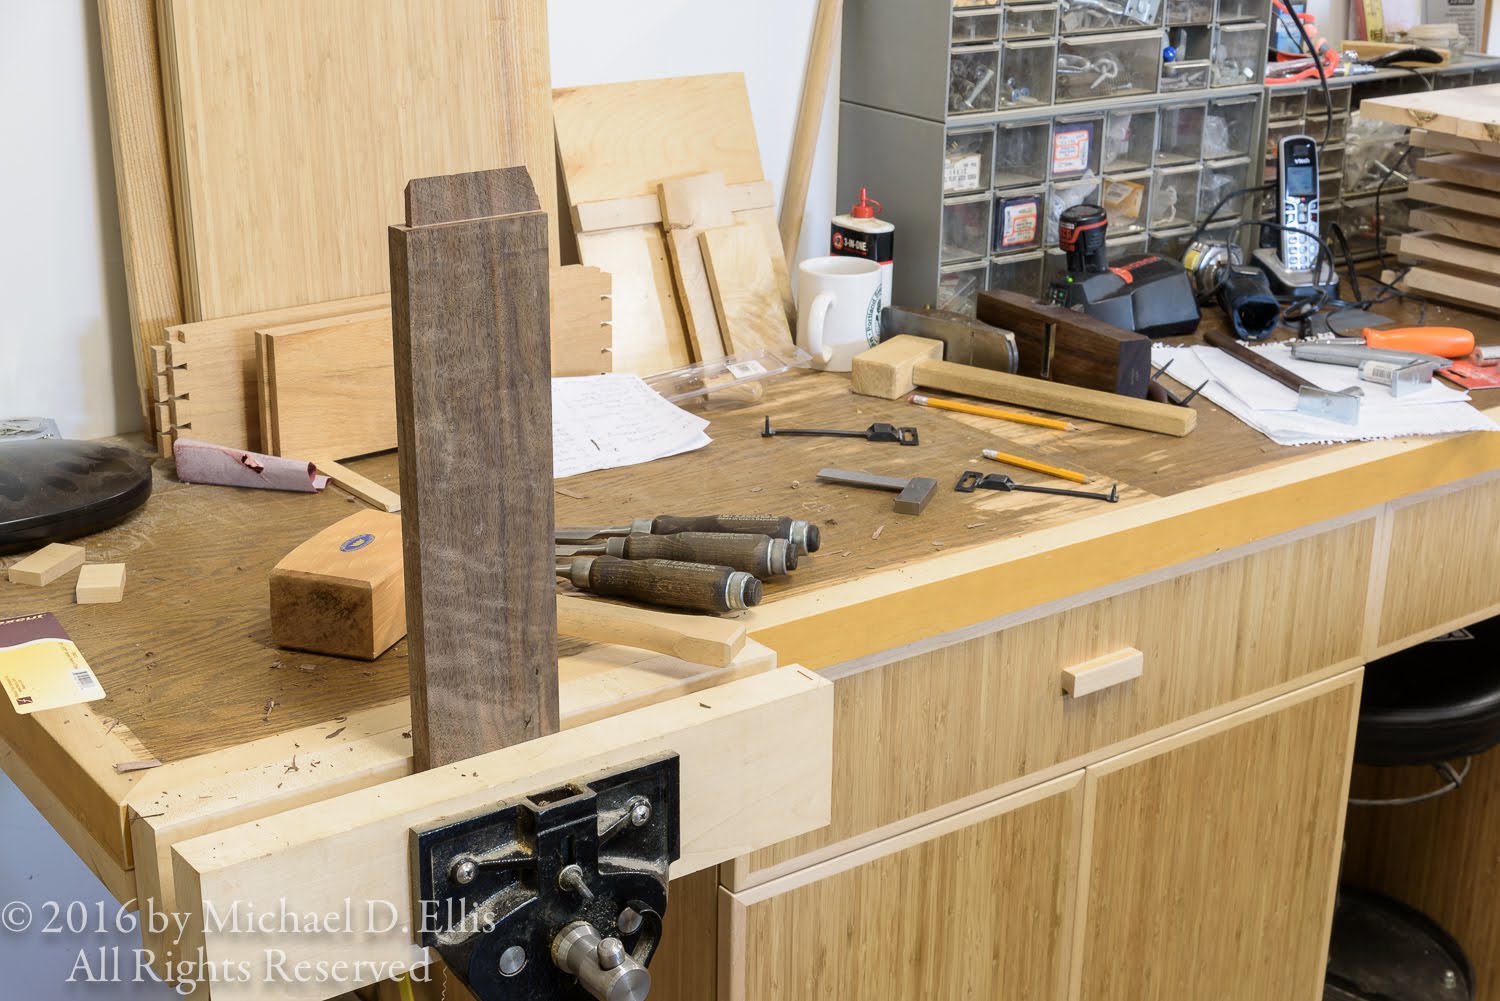
I have laid the clamps out on the bench and put blocks beneath the work pieces to raise the work slightly above the clamp beam, I have a damp rag, the dry fit looks good, and I am ready to glue!


I apply a bead of glue to each surface and spread it with something convenient. I like to use a piece of formica but I couldn't quickly find one (it's getting a little cluttered here, I'll have to clean up soon) so I am using a thin piece of walnut. 


If my glue up is good enough I won't need to do any serious surface planing so I work to keep the surface of each piece level with the other along the length of the joint. I use my fingers to feel the joint as I work along and tighten the clamps.


If necessary I also use a block underneath the joint and one on top which I strike with a dead blow mallet to even the surfaces.


I check across the width with a straight edge for any cupping. This can be caused by clamp pressure if your clamps are crooked or all on one side. Alternating the side the clamps are on can remedy the cupping 


You will notice I have added some clamping cauls here for the second set of boards to help spread clamp pressure across the boards. Now it's on to other things.


Well, it's been a few days now and I need to join the two pieces I have made thus far. One set has bowed a little. I have some thickness to play with although I think it will end up a little thinner than the 7/8" dimension I had in mind initially. Of course it's the 11" wide piece and my jointer is 8". It is possible to joint half the board, turn it and joint the other half, although it does require removing the blade guard and that is not something I relish doing.

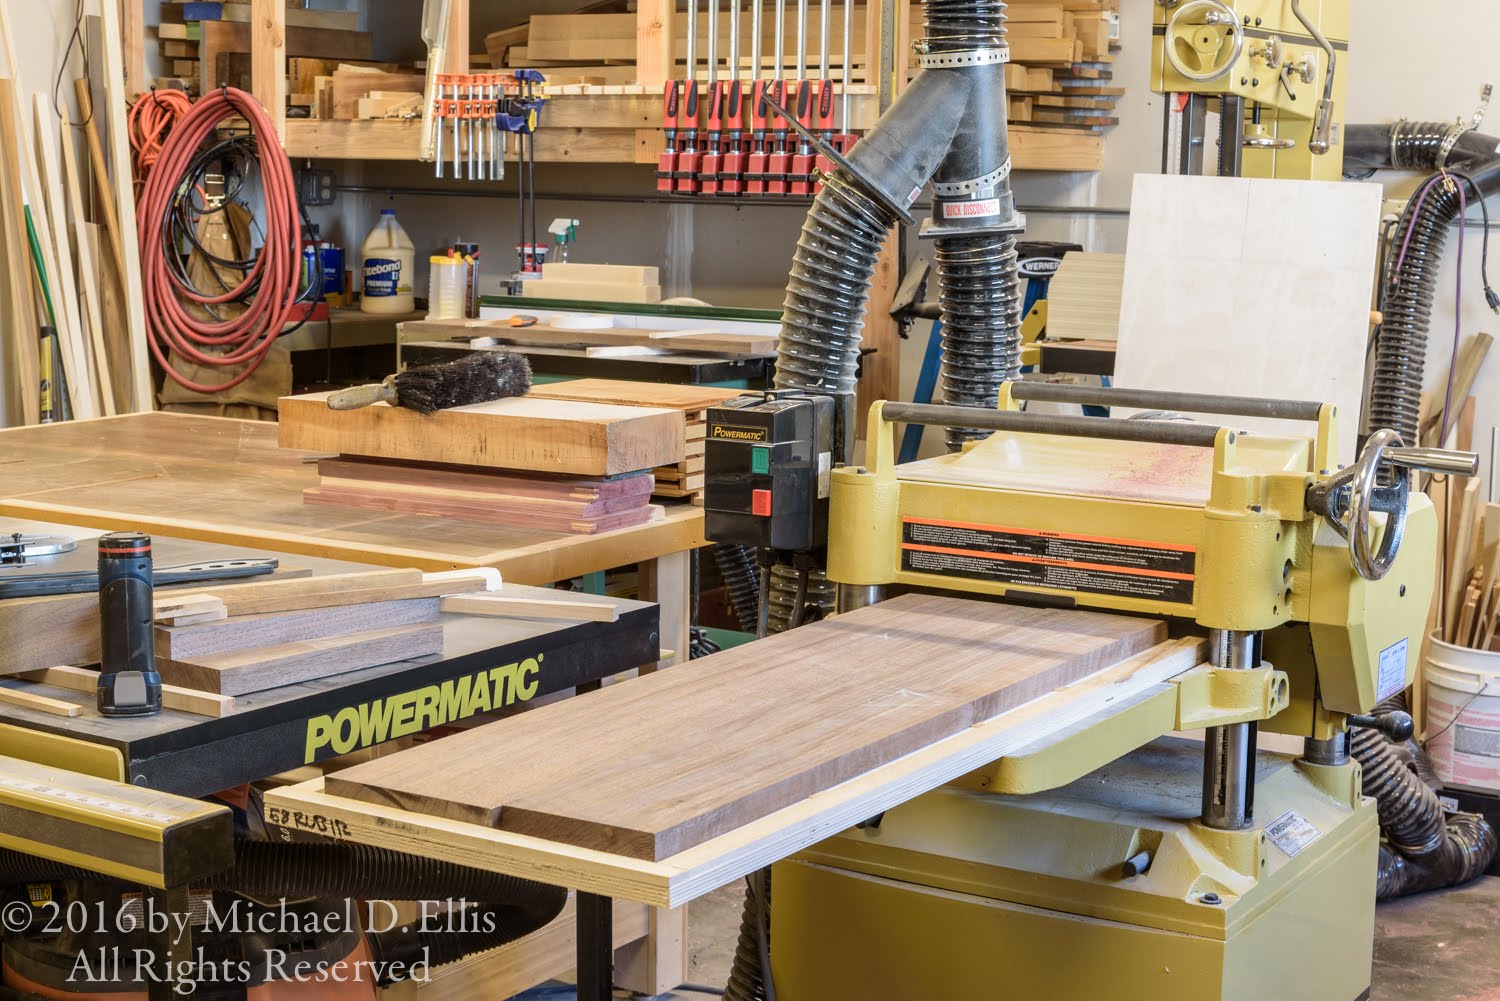
It could be done by hand, or, I could use the planer. If I just run the bowed piece through the planer the planer rollers would push the bow down against the bed instead of removing the high part only. But, by putting the board on a flat base and shimming the hollow portion to keep the planer rollers from pushing the bow down I can basically use the planer as a jointer.

Here I am using a piece of plywood for the base. I ripped some thin pieces and also used some wedges to shim the high points in the middle.


I then added side and end stops with double stick tape. I measured the high point to get a starting point for the planer and I am ready to go.


That worked pretty well. I was able to get the bow out of the face and then plane the other side to even thickness, a bit over 13/16". I jointed the mating edges on the planer, then ganged them together for hand planing.


Now I can glue the pieces together.


Next time Breadboard ends!


Wednesday, September 28, 2016

It's Fitting...

Now it is time to start putting it all together. First I mitered the ends of the rail tenons. I used the mitre gauge that came with the table saw to guide the work piece. I placed a stop block on the fence to set the first cut. Since I was making each tenon about a 16th inch shorter as well as mitering it, for cutting the other end, I used a shim about the thickness of the saw kerf instead of re-setting the stop block.


Next I have to fit each joint. I try to cut joinery so everything fits without too much fussing around but when I want each joint to be as good as I can make it, I tend to leave some hand work to do.


There is usually a little bit to remove at the intersection of the cheek and shoulder cuts. I hold the piece in the vise and use a chisel to clean this up.


I work each tenon, and finish by chamfering the ends to allow easy entry into the mortise when gluing up.


Next I check the fit against the mortise. I use my shooting board as a bench hook to hold the work and my shoulder plane to bring the tenons to a perfect fit. I want to be able to hand insert (and hand remove) the pieces. I also keep in mind the complexity of the glue up. As I fit these parts I realized that this glue up will be pretty intense, so I have tried to compensate and made some parts a bit easier to bring home than if I was gluing a piece with fewer parts.


I had a bit of trouble at first planing the short tenons on the stiles. I found I had to be very careful not to plane unevenly across the tenon. A few ended up twisted slightly, maybe out by a 64th inch or so. That won't work for me so, while I had the frame assembled I used some tape to mark the sides that needed help. I made a thin rip on the table saw and rebuilt the thin part. I made a good guess on thickness so they didn't need any further planing and the twist was gone.


So it is starting to look like something more than a nice stack of wood now.


Finally, I set up the router table with a 3/8" straight cutter and made a groove in the bottom rails to hold the floor. 


Lower rails with groove for floor


Well, I have a bit more work to do now to get the frame parts all assembled so I better get to it.... (time passes)  Well, now I have the frame parts fitted and it is looking pretty nice! 


I still need to do some surface prep before I glue up the frame, and make the floor before I can do final assembly. Check back again and see how it's going. Thanks for taking a look.

Monday, September 26, 2016

Oil And Wax

The panels are ready for finish now. They have been rounded over on the edge and sanded to 800 grit sandpaper.


I have been using Tried And True Varnish Oil followed by paste type furniture wax for finishing my fine furniture and woodworking projects for many years now. 


I am pleased with the results, both initially and over time. This finish provides a protective film but still allows you to feel the wood.  I have pieces I finished 15 years ago that are still in very nice shape.

I am putting the oil and wax finish on these parts before assembly because, if the panels shrink in the future, they will show an unfinished portion if I don't. This product is thick, like honey. You want to apply a very thin coat. I use a cotton cloth, wadded up, to apply the oil. I wipe on a coat trying not to leave any excess. When I have covered the panel on both sides, I wipe it down with a clean rag to remove any excess oil. I let it dry for about 24 hours before applying another coat. I will use three coats of oil on these parts, followed by a coat of wax.


Panels for the front and back with one coat of oil applied


Panels for the sides with one coat of oil applied


Between coats of oil I will be working on material for the floor and lid. Thanks for taking a look. Check back again and see how it's going.

Friday, September 23, 2016

I Haven't Forgotten About You...Panel

I finished with the replacement panel today. I then trimmed all the panels to final size and set up the router table to raise the panels. I am basically cutting a tongue all around the panels, no fancy profiles, just a simple raise with nicely rounded corners.


The slot cutter bit works well for this. I removed one of the .002" shims to make the tongue just a bit looser. The panels will float in the grooves and while I want them tight, I suspect that the humidity on the East coast, where this project will live, is more humid than here. I also want to make glueing up the piece as easy as possible, and if the panels are real tight assembly will be more difficult.


Notice that I am using a backer block for the crosscuts. This keeps the end edge from blowing out when it exits the cutter. That is also the reason I make the crosscuts first, so if there is any blow out it is removed when working the long grain edges.


Well, all the panels are raised now. I will try to get them finished ASAP and then I can get the chest put together. 


Thanks for taking a look. Check back soon and see how it is going.

Wednesday, September 21, 2016

Finishing The Stiles With A Tongue

I set up and cut the tenons and grooves for the stiles much as I did for the rails; cheek cuts with the tenon jig, shoulders on the crosscut sled, then grooves on the router table.


Next, I have to cut a tongue on the end stiles to fit into the grooves on the legs. I set up the slot cutter for a tongue configuration. It was pretty easy to dial in the tongue thickness even though changing it required inserting or removing shims.


The instructions that come with the bit provides the information to calculate the shims needed pretty closely.


Once I had the tongue width set I had to adjust the height. Notice that I had to remove the insert to lower the bit below the table. I need to get a few more inserts so I can accommodate large cutters. For me, without a zero clearance fence, it would be pretty scary to use this bit since the split fence is separated so much. After I had the height dialed in I moved the fence forward and clamped the plywood piece back on the fence, turned the router on and moved the fence into the bit until I had a good 1/4" exposed.After setting the depth with the router off, I ran all the end stiles through on the appropriate edge. Notice that I am using a push block to push these 1 1/2" wide pieces past the cutter. It just felt a little dangerous using only my fingers.


Now it's time to put all the frame pieces together. Oh yeah, I haven't forgotten about those panels and it's about time to get them finished. First I have to get my replacement panel together. The pieces stayed pretty flat after re-sawing so I ran the faces over the jointer once again and squared the edge. Then I used a hand plane to tune the edge before gluing. Next, I'll run the tongues on the panels.


Well, that's all for now. Thanks for taking a look. I hope you check back and see how the project is coming along.

Monday, September 19, 2016

Joinery For The Rails

Now I set up to cut the mortises, grooves, and tenons on the rails. The drawing below shows typical joints for the rails.


The drawing below shows the corner post joinery in plan and elevation, including the groove for the floor. 


I don't need a complete drawing, just enough to be able to understand all the details and transfer the information from the drawing to the workpiece. The construction is the same for all four sides. Only the lengths change. 

I set my marking gauge to the tenon length (1 1/8"). I try to be very precise when I do this and usually have a couple of stabs at it before I am satisfied. I use a ruler with machined markings (to 64th's of an inch) and set the cutter into the proper groove on the ruler. Then I make a test mark and measure it to be sure it is correct.   


I have to use reading glasses and a 10x loupe on occasion to see closely nowadays.


I decided to make a story pole for the rails for this job. A story pole helps cut down on measuring errors and, if I ever make this project again I have the layouts all ready to go! Here, the story poles are laid on top of the workpieces. It is often difficult to see the markings on the small version of the photos. Click on any photo to see it larger.


Here I am using a square to even the ends of the story pole and the workpiece up before transferring the marks. I then use a square to mark across the edge.


I used the story pole to mark out the mortise locations and the locations of the edges of the stiles. I then set up the mortise machine and cut the mortises. Then I set up the table saw for cutting the tenons. I am using a General tenon sled. Once it is set up it works well but it is a bit difficult to adjust. 

After cutting the cheeks I changed blades and set up the crosscut sled to cut the shoulders.


Here are the tenons all cut.


Next I had to re set the height of the slot cutter. I turned the plywood fence piece over and made another cut after re setting the height. I then cut all the grooves. 


After the grooves are completed


Now I'll make the tenons and grooves for the stiles and start fitting parts. I hope you check back and see how it's going.