

Next I have to fit each joint. I try to cut joinery so everything fits without too much fussing around but when I want each joint to be as good as I can make it, I tend to leave some hand work to do.
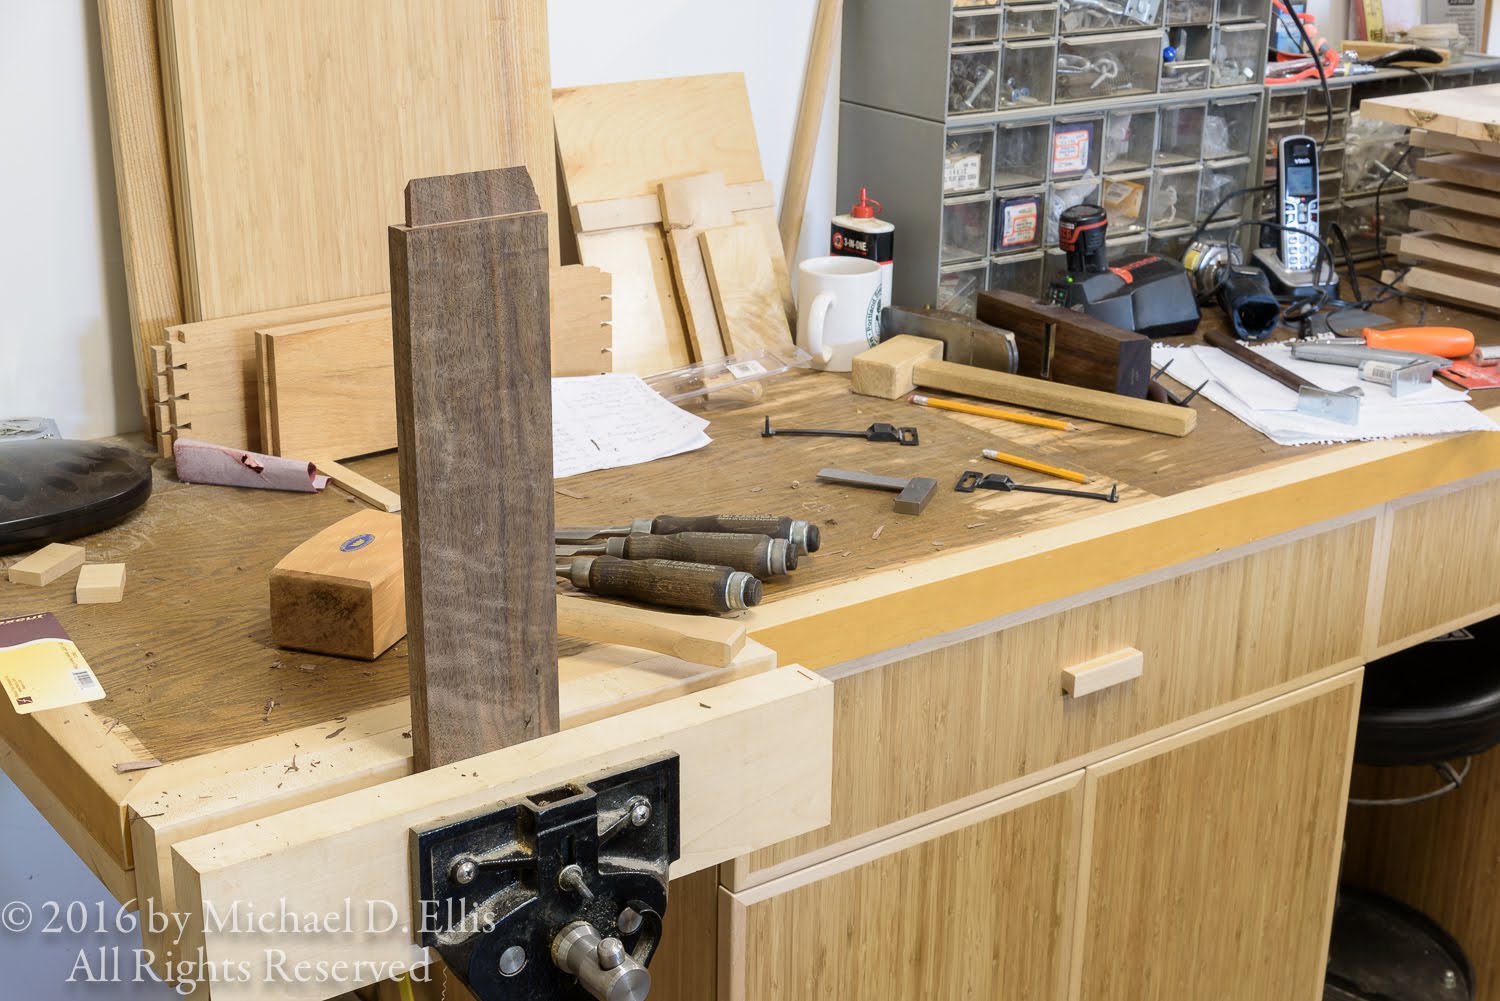
There is usually a little bit to remove at the intersection of the cheek and shoulder cuts. I hold the piece in the vise and use a chisel to clean this up.

I work each tenon, and finish by chamfering the ends to allow easy entry into the mortise when gluing up.


Next I check the fit against the mortise. I use my shooting board as a bench hook to hold the work and my shoulder plane to bring the tenons to a perfect fit. I want to be able to hand insert (and hand remove) the pieces. I also keep in mind the complexity of the glue up. As I fit these parts I realized that this glue up will be pretty intense, so I have tried to compensate and made some parts a bit easier to bring home than if I was gluing a piece with fewer parts.

I had a bit of trouble at first planing the short tenons on the stiles. I found I had to be very careful not to plane unevenly across the tenon. A few ended up twisted slightly, maybe out by a 64th inch or so. That won't work for me so, while I had the frame assembled I used some tape to mark the sides that needed help. I made a thin rip on the table saw and rebuilt the thin part. I made a good guess on thickness so they didn't need any further planing and the twist was gone.

So it is starting to look like something more than a nice stack of wood now.

Finally, I set up the router table with a 3/8" straight cutter and made a groove in the bottom rails to hold the floor.
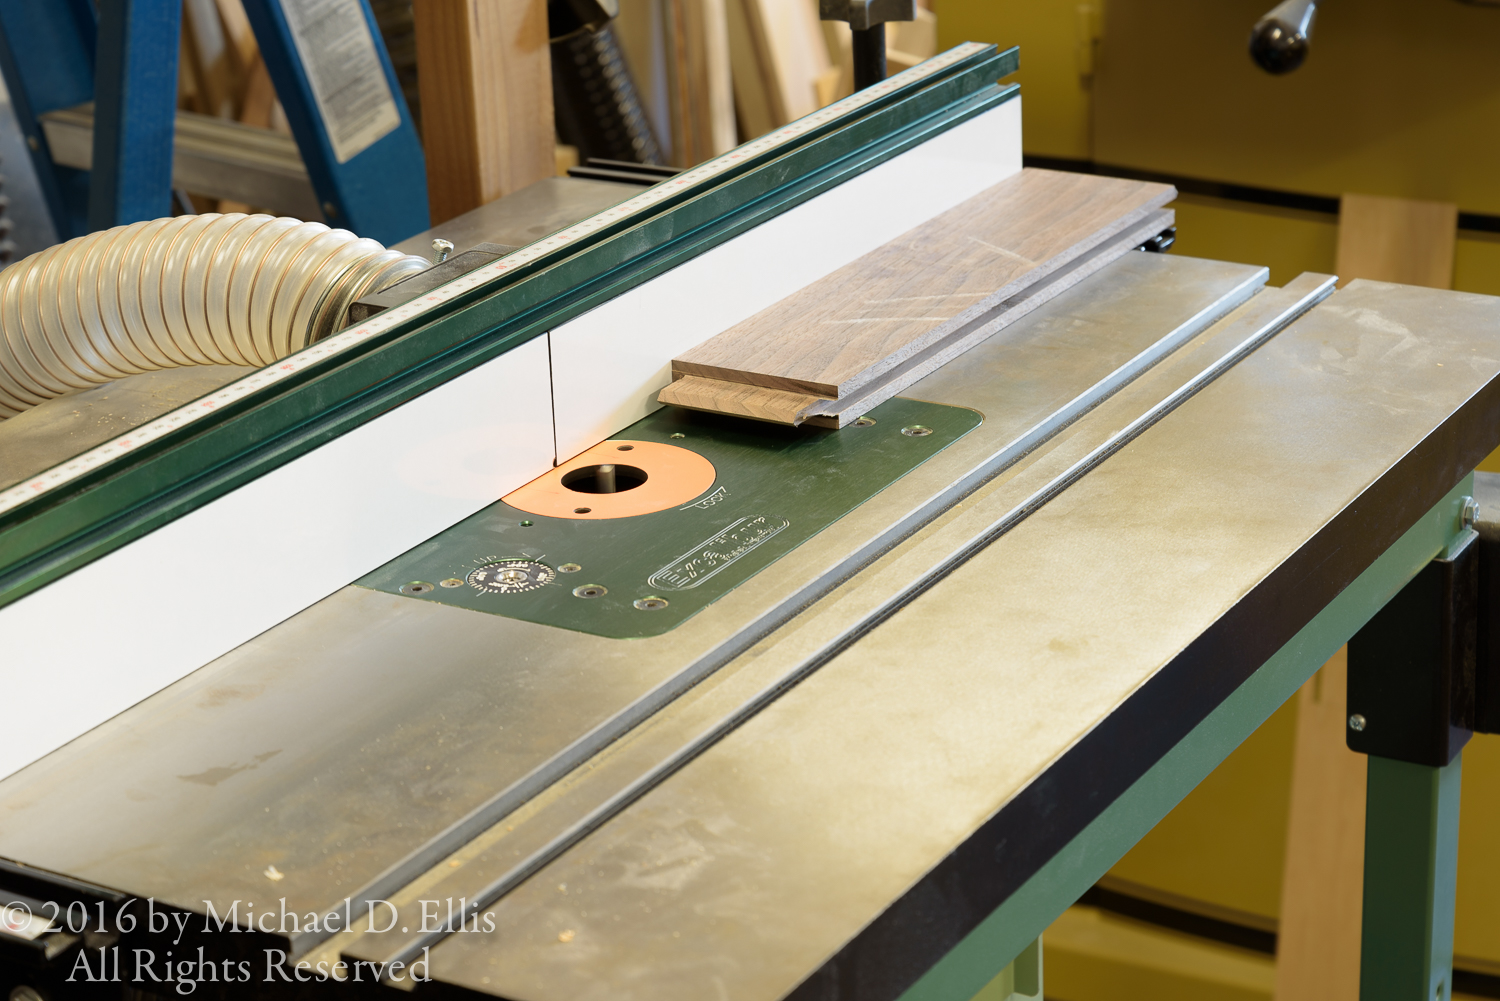


Lower rails with groove for floor

Well, I have a bit more work to do now to get the frame parts all assembled so I better get to it.... (time passes) Well, now I have the frame parts fitted and it is looking pretty nice!

I still need to do some surface prep before I glue up the frame, and make the floor before I can do final assembly. Check back again and see how it's going. Thanks for taking a look.
No comments:
Post a Comment
Comments welcome if on topic.