Showing posts with label chisel. Show all posts

Wednesday, September 28, 2016

It's Fitting...

Now it is time to start putting it all together. First I mitered the ends of the rail tenons. I used the mitre gauge that came with the table saw to guide the work piece. I placed a stop block on the fence to set the first cut. Since I was making each tenon about a 16th inch shorter as well as mitering it, for cutting the other end, I used a shim about the thickness of the saw kerf instead of re-setting the stop block.


Next I have to fit each joint. I try to cut joinery so everything fits without too much fussing around but when I want each joint to be as good as I can make it, I tend to leave some hand work to do.
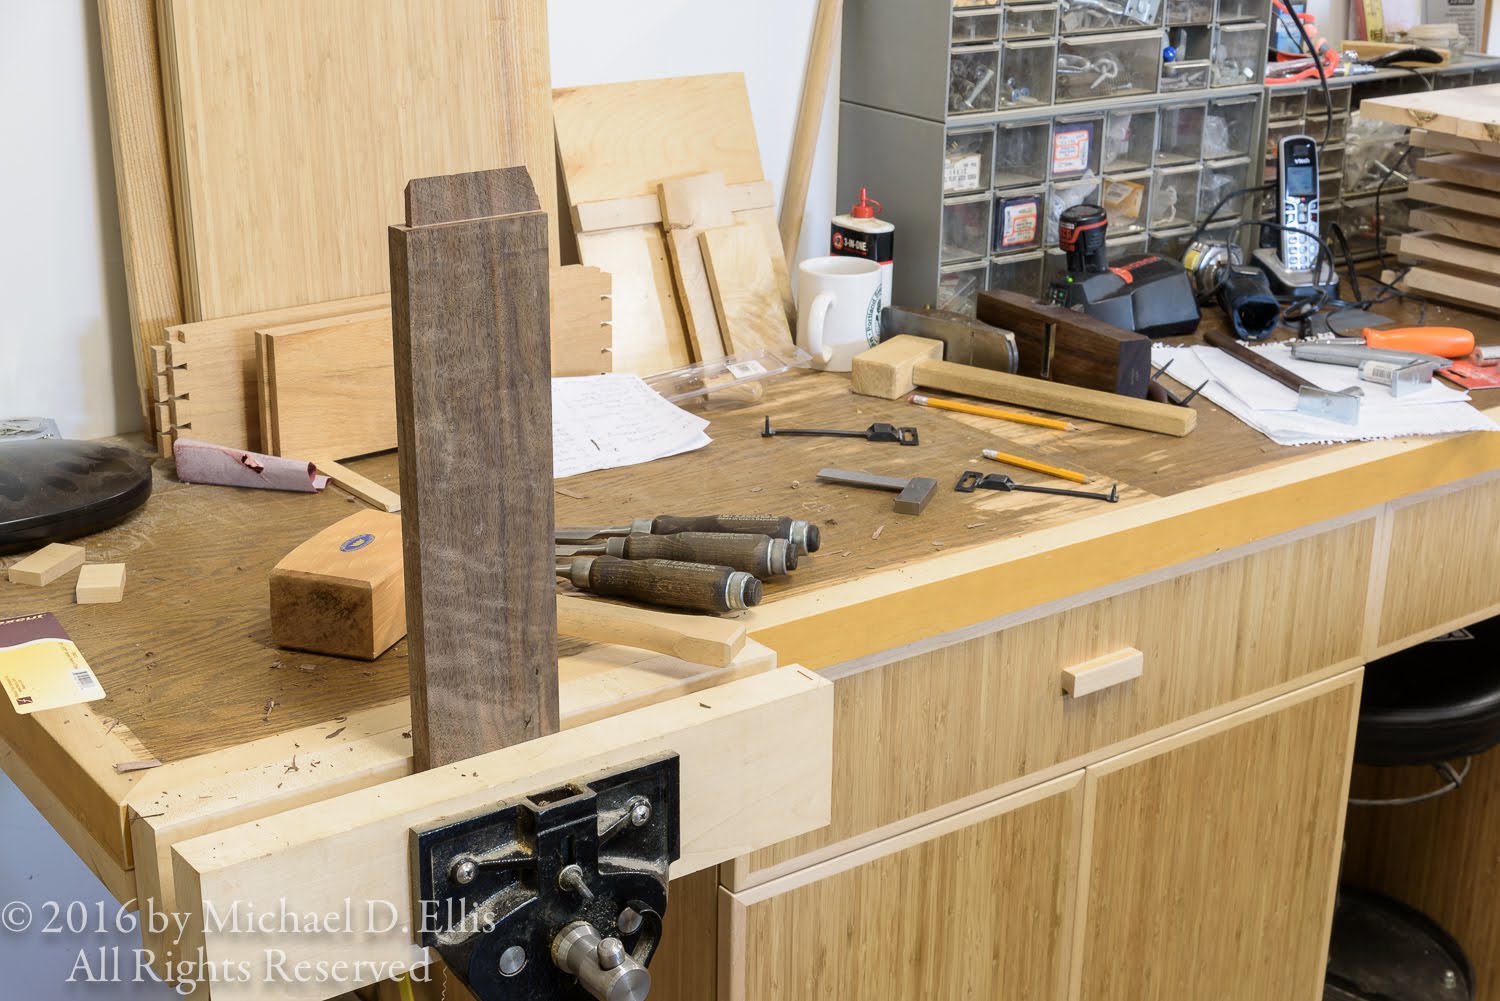

There is usually a little bit to remove at the intersection of the cheek and shoulder cuts. I hold the piece in the vise and use a chisel to clean this up.


I work each tenon, and finish by chamfering the ends to allow easy entry into the mortise when gluing up.


Next I check the fit against the mortise. I use my shooting board as a bench hook to hold the work and my shoulder plane to bring the tenons to a perfect fit. I want to be able to hand insert (and hand remove) the pieces. I also keep in mind the complexity of the glue up. As I fit these parts I realized that this glue up will be pretty intense, so I have tried to compensate and made some parts a bit easier to bring home than if I was gluing a piece with fewer parts.


I had a bit of trouble at first planing the short tenons on the stiles. I found I had to be very careful not to plane unevenly across the tenon. A few ended up twisted slightly, maybe out by a 64th inch or so. That won't work for me so, while I had the frame assembled I used some tape to mark the sides that needed help. I made a thin rip on the table saw and rebuilt the thin part. I made a good guess on thickness so they didn't need any further planing and the twist was gone.


So it is starting to look like something more than a nice stack of wood now.


Finally, I set up the router table with a 3/8" straight cutter and made a groove in the bottom rails to hold the floor. 
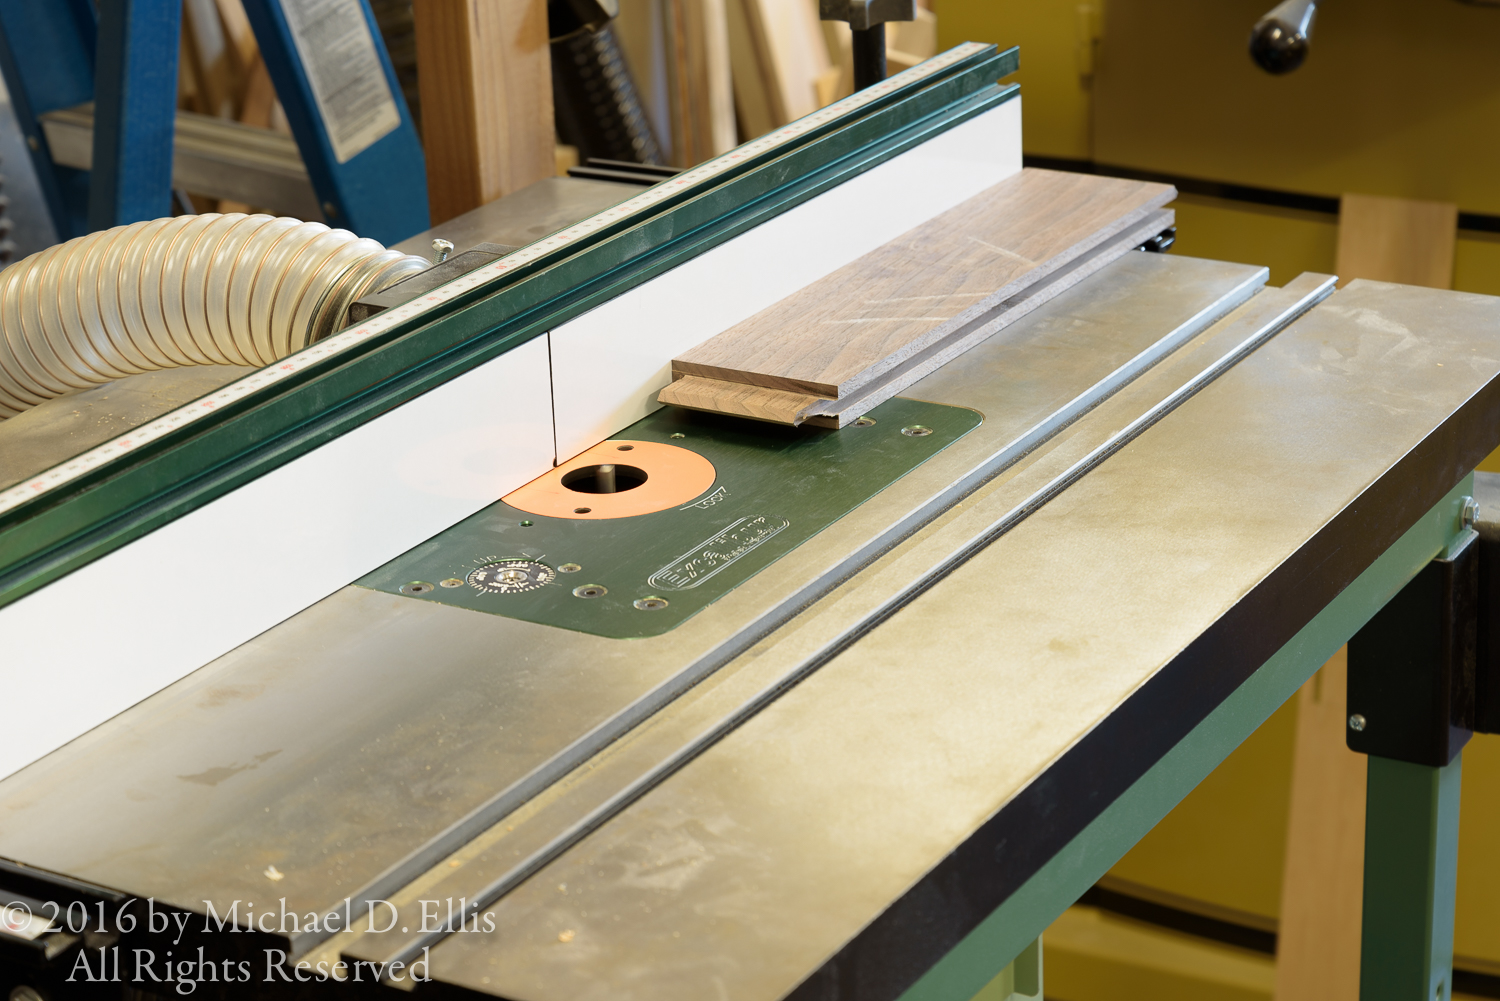


Lower rails with groove for floor


Well, I have a bit more work to do now to get the frame parts all assembled so I better get to it.... (time passes)  Well, now I have the frame parts fitted and it is looking pretty nice! 


I still need to do some surface prep before I glue up the frame, and make the floor before I can do final assembly. Check back again and see how it's going. Thanks for taking a look.

Friday, July 1, 2016

The Veritas MKII Honing Guide and Sharpening Edge Tools by Hand

I have found a honing guide to be invaluable when sharpening my edge tools. I do sharpen my striking knife, skew chisels, and small narrow chisels by hand since they don't fit in my guide. After a fair amount of looking around and using various sharpening jigs I finally settled on the Veritas Mk II Honing Guide, available from Lee Valley Tools. 


There is also an attachment you can buy to use with skew chisels but I don't have that. This honing guide allows me to quickly and repeatedly set my blade or chisel at the correct angle so I can do touch up sharpening while in the middle of a project. This guide also has a feature that, by pulling and turning a knob you can change the blade angle by 1 degree allowing a secondary bevel to be formed. This is handy!


Here the guide is shown with the angle setting attachment on.


This controls the projection of the blade and thus the angle. There is a good instruction booklet that comes with this guide to explain it's use and help decipher the markings.

Here the guide is shown from the under side showing the chisel blade meeting the stop. The fence on the side keeps the blade square to the roller. You then tighten the blade clamp, remove the angle attachment and you are ready to roll.


At this point you just push and pull the device with the blade registered on the abrasive, as below. You need to pay a bit of attention but it is really quick to do 50 strokes back and forth. More than enough to touch up a blade during use. Notice that I have placed the film close to the edges of the glass. This is so I can lap the burr off the back of the blade without removing the tool from the holder.


Unless a blade is really in bad shape I run through the 15, then 5 micron grits. If I want a high polish I will finish with the 0.5 micron. If a blade is chipped or needs the bevel changed I will start with sandpaper as coarse as 400 grit and work up from there. Some folks use a bench grinder for this. If you do, be careful not to overheat the tool!

When I am readying a new chisel or plane blade for use I lap the back to flatten, smooth and polish it. You don't have to do the whole back, just the bottom 1/8th inch or so. After I have the back in good shape I install the chisel or blade in the holder and start honing. If you are buying a decent quality tool it should come with the blade square and reasonably sharp. The back will probably be flat but rough compared to the front of the cutting edge. Start with the grit that seems appropriate. You want to polish out the previous scratch marks and leave progressively smaller ones until, at 4000 grit or so, you have a nice polished edge. Here is a close up of a chisel blade after sharpening. This is a 1/2 inch chisel. The micro bevel doesn't look as polished in this close up as in real life, but it looks pretty good with the naked eye.


I hope you have enjoyed hearing about my sharpening practices. Leave a comment and let me know what you think.

Check in again soon.

Thursday, June 30, 2016

Sharp Tools

The tools we use to form wood, whether power tools or hand tools, all require maintenance.

A selection of edge tools
While all maintenance is necessary, I have found that keeping the cutting edge of my tools sharp is one of the most important  parameters to keep an eye on. Every time I change a blade or bit I check it visually for cleanliness and sharpness. Every time I pick up a chisel or plane I check the set up and sharpness. I try to keep my hand tools ready for use by sharpening them after a project has been completed but these often need to be touched up in use. 

Most power tool blades, bits and knives have carbide cutters and some pretty critical dimensions to maintain so I send out my table saw blades for sharpening. I usually replace dull router bits since I have not had good luck having them sharpened. Band saw blades are also replaced when dull. I do sharpen some of my drill bits. I have segmented cutters on the planer and jointer so they don’t get sharpened, just turned and eventually replaced.

Segmented cutterhead on a Powermatic jointer
Hand tools need frequent sharpening when used. I have tried a few methods and have researched a lot of machines, jigs and stones for sharpening before settling on the method I currently use. My criteria were: first, producing a fine edge, second, ease of set up and use and third, expense.

I have used sharpening stones extensively and they work well but I have found some drawbacks. Good quality large stones are kind of expensive. A set of 4, coarse lapping, coarse, medium and fine, can easily set you back 2 to 4 hundred dollars. They can be fragile and they do wear. Waterstones need special containers and regular flattening.

There are machines (Tormek etc.) which can work very well and the sharpening is automated to some extent. A large variety of machines are available which vary in quality, ease of use, results and cost. I have little experience using them but I do know people who have a system similar to this and they use it infrequently because it is quicker to just pull out a stone and touch up that chisel or plane blade than set the machine up. If you are sharpening all your tools at once I think these systems can be a real time saver. If you have the space to keep it set up ready for use it may be easier to use. These systems range in cost from 1-200 on up.

After using stones for a long time I read about a product in the Lee Valley woodworking catalog called lapping film.

3M lapping film

Made by 3M, this film is produced for the Telecomm industry to polish fiber optic cable connections and is available with a pressure sensitive adhesive backing. It comes in 15, 5 and .5 micron sizes. This film is made to high specifications regarding the size of the abrasive particles so you won’t get odd scratches as you work your way through the grits as can happen if you use sandpaper. I decided to give it a try for sharpening and it has become the sharpening medium I use.

You need a flat substrate to adhere the film to so I purchased a piece of float glass as a substrate. I bought this from Lee Valley, but it is also available from Rockler. I cut the film to fit my largest plane blade, about 3 inches wide. I carefully apply the sheet to the CLEANED piece of glass. Be careful of trapping air bubbles under the film. If you get some, slit the film with a knife at the bubble and roll it down. I then use a roller to seat the film and remove any trapped air bubbles. Add a few drops of oil and you are ready to go.

Lapping film attached to glass plate
I sharpened without a guide for years but as I became a better woodworker I wanted better results. I thought that a guide would help me acheive a better result. There are several devices available to hold your blades and chisels at the correct angle for sharpening. 

Several holders for sharpening. Veritas holder on left.
I currently use the system made by Veritas, the Veritas® Mk.II Honing Guide System available from Lee Valley Tools. It consists of the holder/guide and an attachment to set the projection of the blade. It holds most of my chisels and all of my plane blades. This device allows me to easily set the chisel or blade to the same angle each time. This really helps with keeping your tools sharp.

Next time I will go over the methods I use to sharpen my chisels and planes.

Monday, June 27, 2016

Hand Tools


Hand tools certainly have their place in the custom woodworking shop. Power tools accomplish many tasks quickly and efficiently and are a boon to the woodworker, resulting in savings of time as well as saving your body from physical degradation. I want to produce work that I am satisfied making and that people can afford to buy. Besides, running those hand tools is really hard, time consuming work. There are however, many situations where hand tools provide the best and most accurate result. 

I enjoy using hand planes, chisels and saws but if I was restricted to hand tools I wouldn’t be able to get much done and I would have to start working out to develop the muscles and stamina to spend  8 hours a day running a hand saw or plane. I think there is a balance to be struck between one extreme and the other. It makes sense to me to do as much of the work as possible with power tools and to use hand tools where they provide the best solution to a problem. 

In general this means that sizing of timber is done on the bandsaw, flattening the face and squaring the edge are done on the jointer, and final dimensioning is accomplished with the planer and/or table saw. There are times however, when it is easier to plane an edge by hand or to cut and plane with hand tools, mainly on real ornery or very small pieces. This gets the material to a workable state in an efficient manner.

From this point I decide what tool to use based on efficiency versus accuracy, quality and esthetics. I use power tools to cut joinery within the parameters of quality I am trying to achieve, and then use hand tools for final fitting of the joint. I usually make mortise and tenon joints  by machine, then use chisel and plane for final fitting.


For dovetails, I often cut the tails partially on the table saw if layout allows. I then use a chisel to remove the waste. After laying out the pins from the tail board, I use a hand saw to cut them out and chisel to remove the waste. This procedure produces a nice fitting joint for me .


I have found that other joints, like tapered sliding dovetails and finger joints are best done with machines, jigs, and as much accuracy as you can possibly manage. Other joinery methods which find a use in my shop from time to time include plate joinery, dowels and slip tenons. I try to find the most efficient method for each task that will accomplish the structural, esthetic and economic goals I have set for the piece. This results in a project that, to me, achieves the quality I want to produce without breaking the budget for a piece.