For the legs I need to cut mortises with grooves between, as well as the "foot" detail. Here is my shop drawing of a leg as well as a plan view detail and an elevation detail of the bottom rail joinery.
A few details may change as I am still thinking through where the floor seats in a groove in the bottom rails. I want to also seat the floor into the legs and am also thinking of rabbeting the inside of the leg flush with the inside of the rails. Mainly I am thinking about whether this will remove too much material and compromise strength and stability.
I recently purchased a set of slot cutters for the router and am planning on using them to cut the tongues and grooves for this project. This set (from Lee Valley tools) includes a variety of shims to adjust the width of the tongue or groove. It includes a pretty comprehensive set of instructions.
I started checking dimensions for the cutters I wanted to use and found my 1/4" hollow chisel mortise bit is slightly larger (about 15/1000s) than 1/4". The slot cutter can make that dimension for a tongue and a groove but I will need to do some test cut first.
I am using a new bit for my mortise machine and as you can see, the drill bit shank is too long and needs to be "docked".
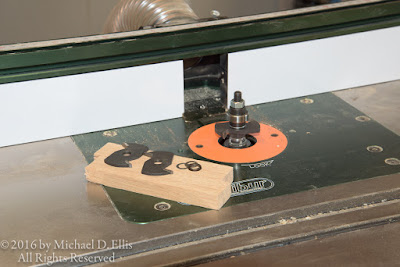
I want to do a neat job so I make a holder of hardwood by drilling a hole the size of the bit shank in a block and sawing it in half. I can then put the bit in the hollows and clamp the block. This gives me something I can clamp in a vise or hold on to while I hacksaw the bit to length.
I have a few different sized holes in this block. I also have a block sized for a 1/2 inch bit. I run the hacksaw against the side of the block and use a file after to smooth the cut.
Now I can make a test mortise and size the winged cutters for a test groove.
I am pleased with the results using the mortise machine and the winged cutters. I was able to size the groove to fit the mortise and, in two tries, line the mortise up with the groove cutters.
Next time, more joinery details.


No comments:
Post a Comment
Comments welcome if on topic.