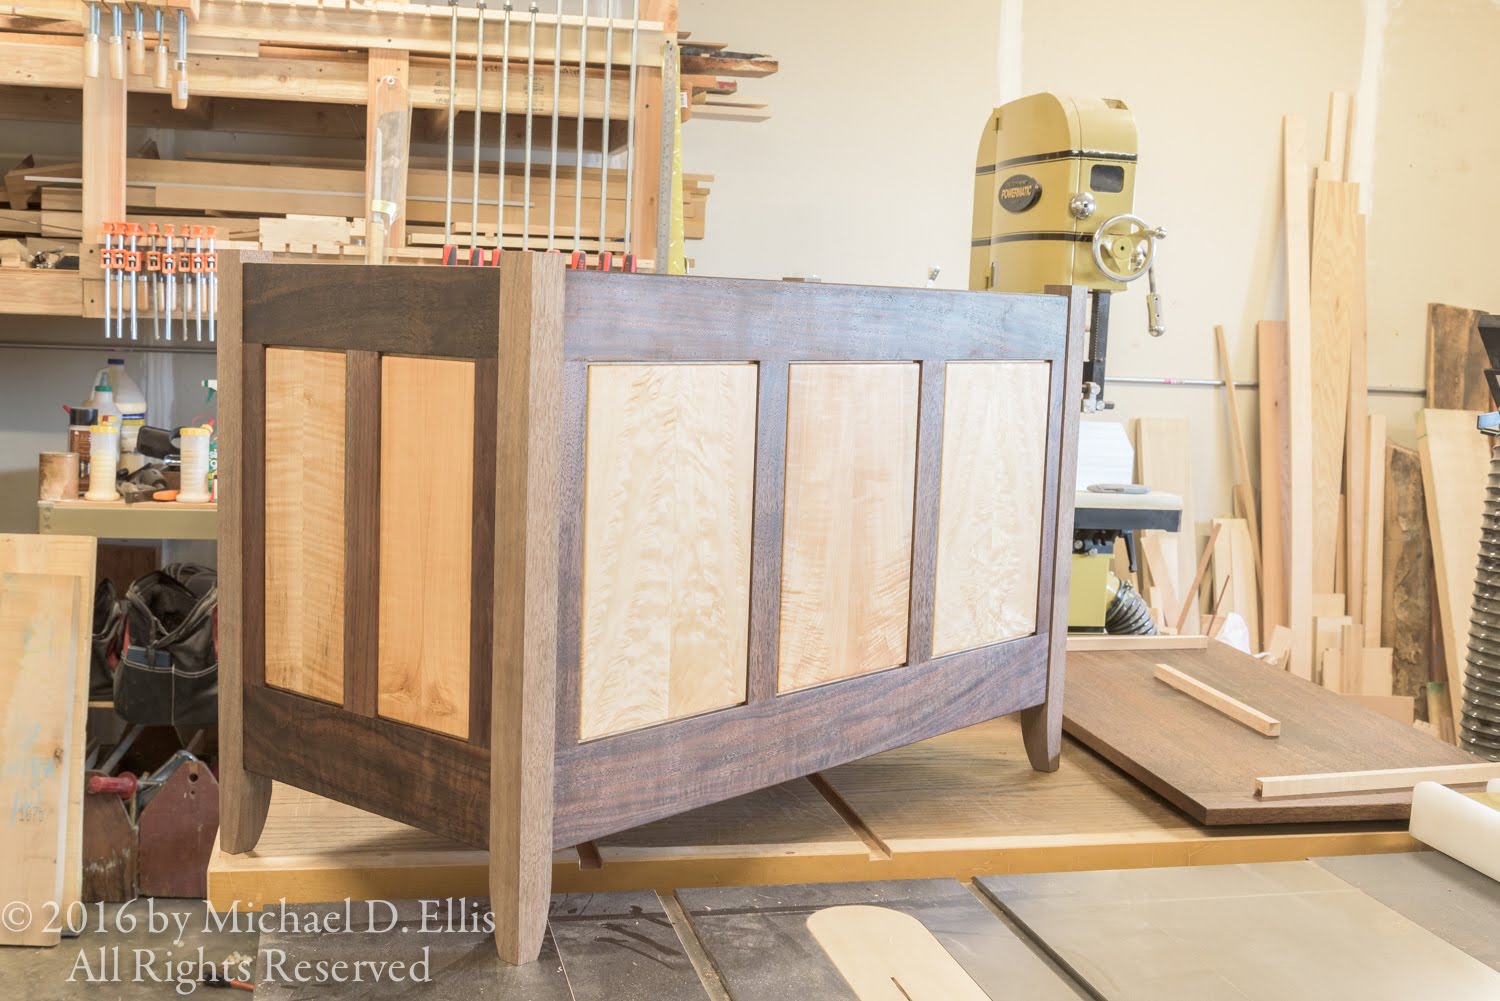
I finally settled on hardware for the chest today. I have looked extensively online for hold open/soft close hardware that would prevent an accidental closing, potentially on a child's head or hand, and have found that while there are a number of pneumatic and friction or spring type devices available, only one device actually makes any claim to prevent injury due to slamming, so those are the ones I am using.
I ended up going to the
Woodcraft store in Tigard, Oregon as they have these devices in stock. These are also available at Rockler through their stores or catalogs. These devices come in three weight ranges and are handed. A simple formula (width X weight/2 ) calculates a number which you use to determine which size you need, as well as how many. This lid weighs 12 pounds and is 18 inches wide so I came up with 108 which required 2 medium duty hold opens.
These devices are only available in statuary bronze finish which isn't a look I had in mind initially, but, this piece will be going to live with a young family and I assume children will be in their future, so the safety consideration is foremost in my mind. I have convinced myself that the dark color of the hold opens will almost disappear against the dark walnut.
I also bought butt hinges at Woodcraft, bright brass, 2 1/2" X 1 1/2", made by Worcester Parsons. Woodcraft has a nice selection of high quality brass hinges in a surprising variety of sizes from several manufacturers.
I made a template to rout the hinge mortises with. I used a 1/4" bit with a 7/16" O.D. guide bushing, giving me a 3/32" offset from the bit to the outer edge of the guide. Thus I need to make my cutout 3/32" deeper than I want and 3/16" wider as well as accounting for the width of the fence material. I laid this out on a piece of plywood and made the cuts on the table saw. I raised the blade up through the material for the lineal cut.
I used the mitre gauge for the side cuts.
After making the cutouts I then added the fence and gave it a try on some scrap material.
The hinge fits really well. I will have to use a shim for the mortises on the case since the rails are set back 1/8" from the legs.

Well, that's it for now. Thanks for taking a look. Check back again. I'll be getting this project wrapped up soon.