Showing posts with label cabinetmaking. Show all posts

Tuesday, December 27, 2016

Making A Leg Tapering Jig

The tapering jig I have used in the past stayed with the shop when I retired and since this is such a handy jig I need to make a new one. I am going to make some changes in the design this time around.

The "old" tapering jig


I want to use thicker plywood for the base this time. The old base started flexing after a few years of use. I think this is due to the base thickness but also due to the pressure applied by the hold down arm to the base. I will use a De Staco clamp attached to the fence for the hold down and will try to spread the pressure on the base over a wider area. I want to make it easy to adjust so I am also going to use T track and nuts for the fence adjustment.

Here is the drawing I have made to help put this jig together


I am making it long enough to hold a 36" piece and am making the fence adjustable to accommodate wide stock. The clamp will have to have different base heights to accommodate thicker pieces of stock. The current configuration should cover the most common sizes for me.

Thanks for taking a look. I'll get to work putting this together soon so check back and see how it's going.

Tuesday, November 8, 2016

Final Assembly, Finally!

Glue up is relatively easy at this point. I first glued up the front panels and legs.


After the glue had set on the front, My friend Richard dropped by. He had offered to help me with the glue up and I had accepted his generous offer. We set to work applying glue and putting parts together. First one of the side panels, then the floor (no glue here), then the other side and finally the back piece. This all went smoothly except for my forgetting that the legs were not yet glued to the back piece and we had to take that assembly off, glue up the legs to the back, and then re set the assembly. Luckily we noticed this before we had brought any of the parts completely home. I was also using glue with a 20 minute open time.


The other complication I had anticipated and had 4 screw clamps that I had notched a jaw of so I could bring the side stiles tight to the legs if needed.


It was and I did. After the glue set and I had removed the clamps I could plane the ends of the legs flush to the rails. I had left these a hair long.


My low angle block plane worked really well to flush that end grain down.


I skewed the plane to the work and carefully sliced until I had the tops nicely flush.


It looks good!


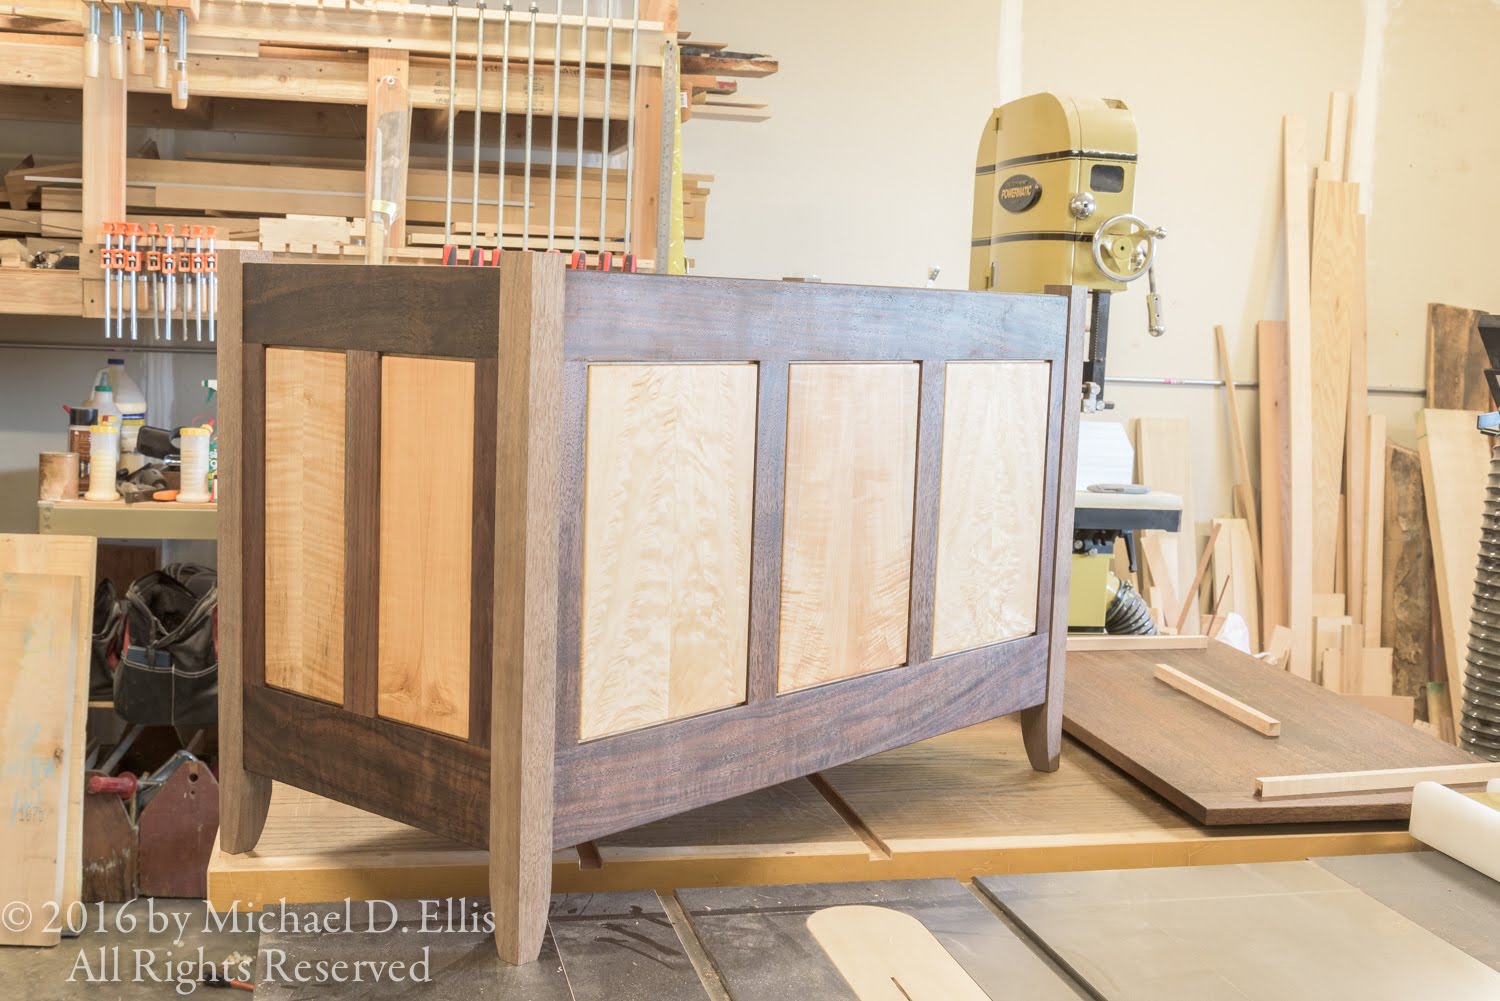
Next I mortised for the hinges using the template I had made previously and applied 2 coats of wax to the lid and outside of the chest. With that done I re-attached the hardware and stood back to take a look. All in all I am pleased with the way this piece came out. The contrast between the maple and walnut works well and the book matched panels look really nice.


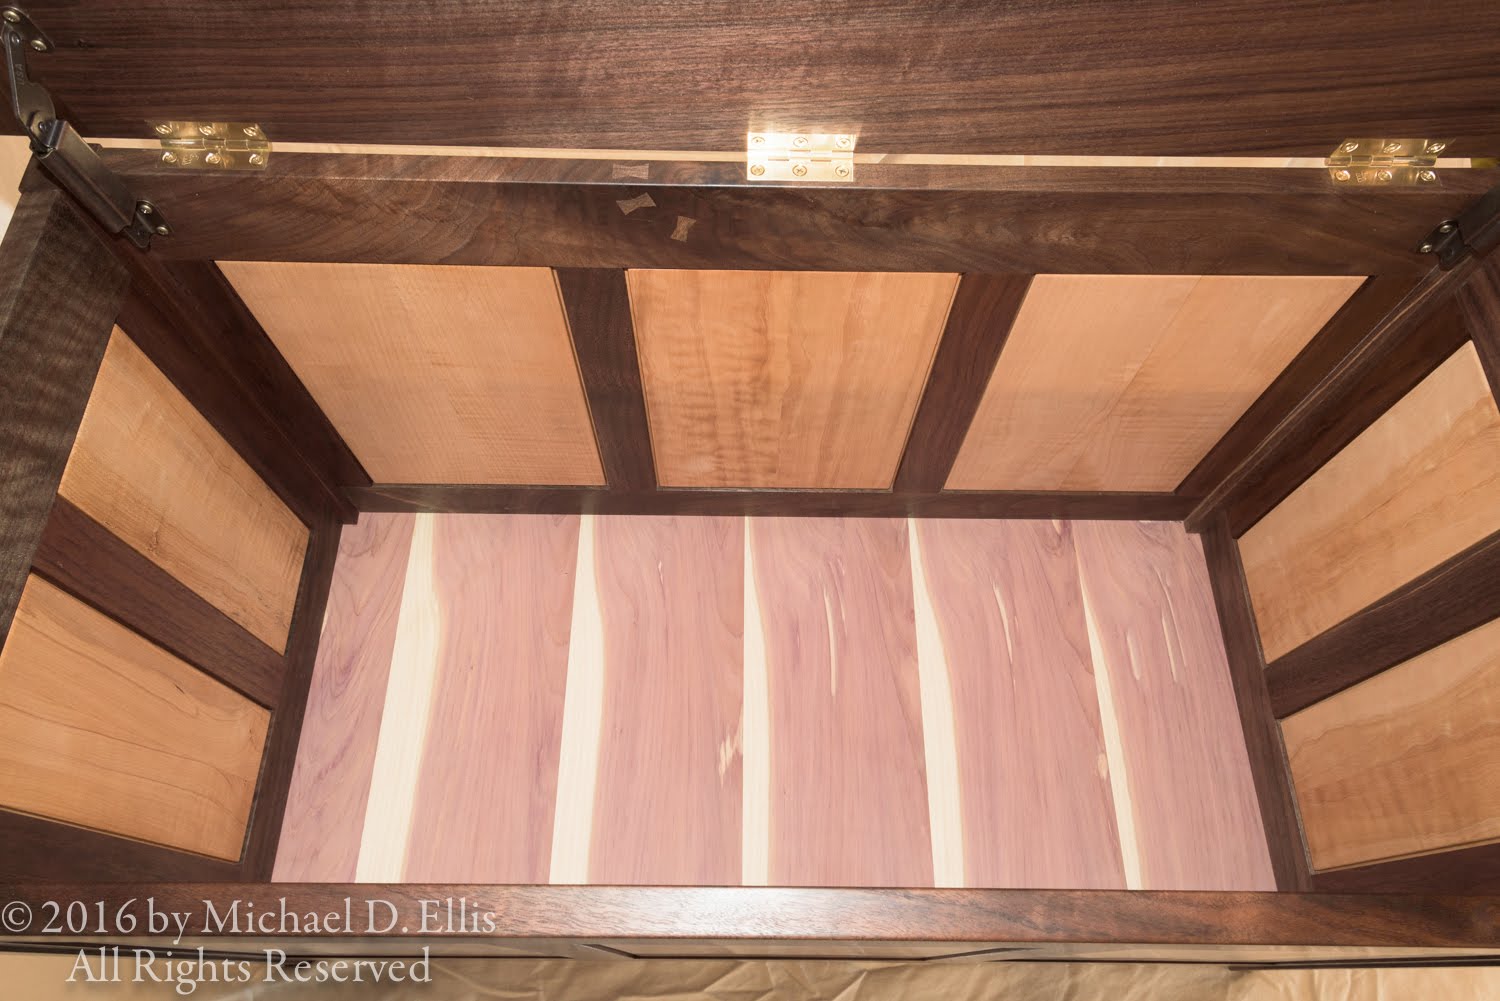
Here is a look at the inside.


And a look at the hardware.


Thanks for taking a look. I hope you have enjoyed seeing how I made this piece. Check back again and see what I am up to next.


Thursday, November 3, 2016

Getting Ready For Final Assembly

I still have a few things to take care of before I can assemble the chest. I need to detail the edge at the bottom of the leg to protect it if the finished piece is ever dragged around. I also want to apply wax to at least the interior surfaces. Since I am leaving the floor unfinished I don't want to have to apply oil or wax to the surrounding surfaces. I will have a bit of detailing to do after assembly at the top edges of the legs.

For the edge detail I scribed a line about 3/32" around the sides of the leg as well as the bottom.


I then used my block plane to bevel the corners.


The finished chamfer.


I taped the inside areas of the legs where I didn't want oil and set to work applying two coats, with 24 hours between.


I also got to work applying wax to the inside surfaces of the already oiled parts.


The wax adds just a touch more gloss than oil alone. The bottom piece has been waxed.


Here are all the parts waiting for the last applications of finish.


One of the last things I do is to inlay a piece with my initials and the year of construction into the bottom of the floor. I made a template by taping the paper pattern to a piece of plastic film, (actually the peel off backing from a piece of 3M lapping film), and cutting out the letters and numbers with a razor knife. I then could put the template on the workpiece and pencil in the outlines. Then I practiced, experimented, got frustrated multiple times, called up distant memories of carving episodes of "The Woodwright's Shop", and eventually made one piece I was somewhat happy with.


As I practice carving more I expect that I will be confident enough to carve an actual part, but not today! I then made a template to guide the router to excavate the mortise.


The blue tape is shimming the guide to a tight sideways fit. I made the side cuts in the template too big initially. Here is the piece set into the bottom.


Now it is ready for final glue up.

Tuesday, November 1, 2016

Finishing The Floor

Now, back to putting the piece together, I still have to notch the floor corners and run a rabbet around the bottom face to fit into the groove in the bottom rails and legs. I laid this out on the floor itself and checked my measurements and calculations several times before going any farther.


I used the router to make the rabbet. Here I am setting the depth.


I could use the router fence for the long edges.


After that was done I cut the corners out with a jig saw.


I then made the rabbet for the inside corners. I made a simple guide so I would get a neat rabbet.


After making the rabbet I used my block plane to round over the edges of the rabbet. I know this will not be visible without turning the piece over but I want the work to look "neat" everywhere. With the floor now ready I make a test fit with all the parts.

The inside


The bottom


View of the bottom inside corner


And the first time all the parts are assembled together


With everything fitting well, I disassemble one last time and prepare for glue up.

Thanks for taking a look. I hope you check back again and see how it's going.

Tuesday, July 12, 2016

Mailboxes and Accuracy


The above photo shows a pair of mailboxes I made while working at Portland State University. I made quite a few mailboxes over the years and found them to be a very interesting category of cabinetmaking. When I was first assigned to build a mailbox unit I began to realize what a challenge it would be to produce. These units are made up of 5 verticals dadoed for 15 shelves plus the top and bottom pieces making 60 mail boxes and 2 large shelves. The center verticals are dadoed on both sides. I had to come up with a way to make each dado in the same place from piece to piece. Even a variation of 1/64" over 15 cuts adds up to a half inch difference. The accuracy and precision required were a little daunting to me initially.

I have used a dado set on the table saw with a crosscut sled or sliding table and thought I could use a box jig type setup to register the cuts but it seemed like it could be a bit sloppy and I was concerned that the shelves would not line up. My other option was a router. I sure didn't want to have to set a straight edge for each cut. That would have been worse than using the table saw. So I designed a base for the router that would register off the previous cut and thus maintain a set distance between each dado.

I used a sheet of clear acrylic for the base and added a runner to the bottom (like a miter slot runner), sized to fit the groove produced by the router bit I was using (1/2"). I made the distance between the runner and the bit the distance I wanted between dados. I attached the router firmly to the base and was ready for a test cut. After adjusting the runner to produce the distance between dados I wanted, and adjusting the bit depth I was ready to make some dados.

My first cut had to be done using a straight edge for a guide. After that I could use the jig I had made to run the rest of the grooves. I had previously spent a fair amount of time calculating and laying out the shelves so I could determine the overall dimensions. I actually left the sides long and cut the miters at the top after making all the dados. I also left pieces together when possible, like the two sides, and ripped them apart after dadoing in an attempt to further maintain accuracy. This worked pretty well and I was able to produce a piece both myself and the customer were happy with.

After a while our shop purchased a panel router. With this tool I could make a jig that would register and position my workpiece for each dado. This greatly simplified the machining of all those dados. I could now make identical pieces with relative ease.


Assembling something like this takes some thought. I ended up making a frame to assemble against to hold everything straight and square. With all those dados the pieces were kind of floppy, especially the middle ones! It takes a fair amount of time to glue in all those parts. After all the pieces were glued in I then had to cover the plywood and melamine edges with wood. 


The edge banding was glued and clamped with tape. I cut the edging with a chop saw and then planed it to fit using a shooting board.


After the glue is set the tape is removed and the surfaces are leveled and prepped for finishing. Finally, the whole thing is rolled over and a back is glued and nailed on. This makes a very heavy unit with almost a sheet of 3/4" hardwood plywood and about a sheet of 1/2" melamine per unit!