Showing posts with label router. Show all posts

Tuesday, November 1, 2016

Finishing The Floor

Now, back to putting the piece together, I still have to notch the floor corners and run a rabbet around the bottom face to fit into the groove in the bottom rails and legs. I laid this out on the floor itself and checked my measurements and calculations several times before going any farther.


I used the router to make the rabbet. Here I am setting the depth.


I could use the router fence for the long edges.


After that was done I cut the corners out with a jig saw.


I then made the rabbet for the inside corners. I made a simple guide so I would get a neat rabbet.


After making the rabbet I used my block plane to round over the edges of the rabbet. I know this will not be visible without turning the piece over but I want the work to look "neat" everywhere. With the floor now ready I make a test fit with all the parts.

The inside


The bottom


View of the bottom inside corner


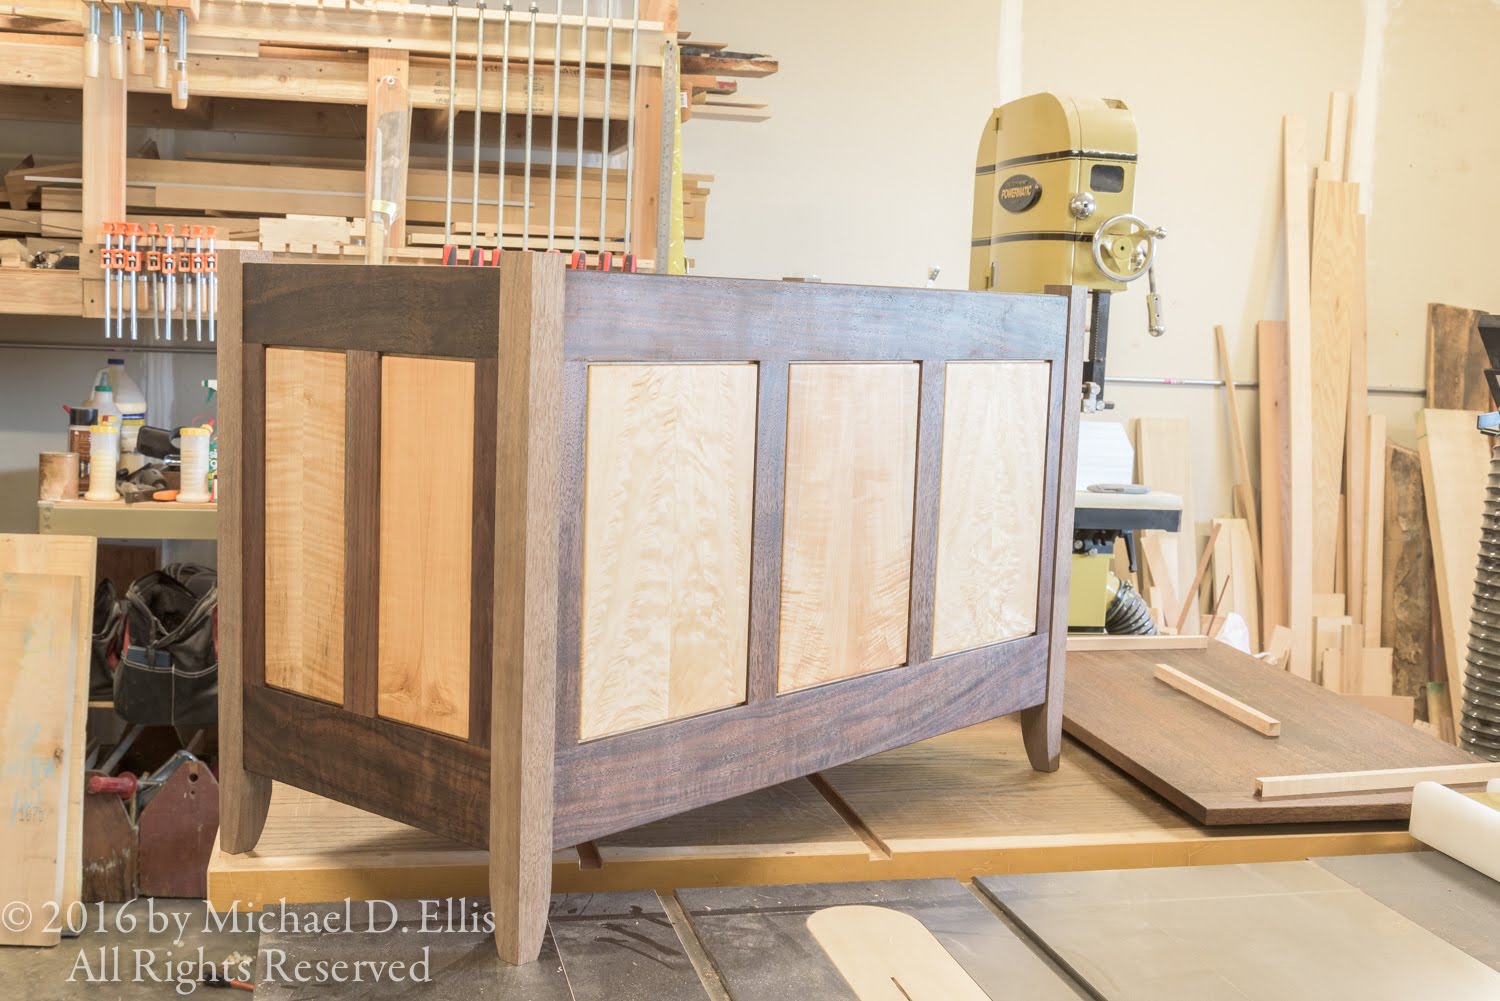
And the first time all the parts are assembled together


With everything fitting well, I disassemble one last time and prepare for glue up.

Thanks for taking a look. I hope you check back again and see how it's going.

Tuesday, October 25, 2016

It's Coming Together

Well, the chest is almost ready for assembly. Now there seem to be a million little things to take care of. I dry fit the panels to the legs so that I could mark the location of the dado for the floor on the legs.


Here is a closer view of the groove and post intersection.


After marking those locations I then took the chest apart and began applying varnish oil to the frame and top. This is when you really start to see the richness of the grain come out. This is also when you find all the places where your finish prep is not sufficient. I did a pretty good job on this project and didn't have to stop applying oil to clean up anywhere.


I carried the marks I made on the legs around with the marking knife and saddle square. 


I decided I should make a router guide to dado the legs. I used some scrap plywood and maple to make the guide and fence. I glued the fence to the guide and added screws after the glue had set.


With the guide ready I grabbed the test leg yet again and tried the guide and router setup. It looks good.


I use my marking knife to align the cut in the guide with the knife marks on the leg. When it is aligned I tighten the vice and check again before making the cut.


All four legs are done and I am happy with the outcome.


Now I can plane any machine and layout marks from the legs prior to assembly of the case.


I do enjoy planing but these legs only needed about three passes per side.


Well, that's all for now. I'll be laying out and rabbeting the floor next, then assembly and hardware.