I have a very busy month coming up and I can see that I will not be posting much (if at all) until around the beginning of December. I want to thank all who have been following along. I will be back and writing about making some cabinets for the shop, building a side table, and building a pedestal base dining table, among other things, so, check back or follow this blog.
Thanks again for reading.
Michael

Text and photos © Michael D. Ellis all rights reserved except as noted
Thursday, November 10, 2016
Tuesday, November 8, 2016
Final Assembly, Finally!
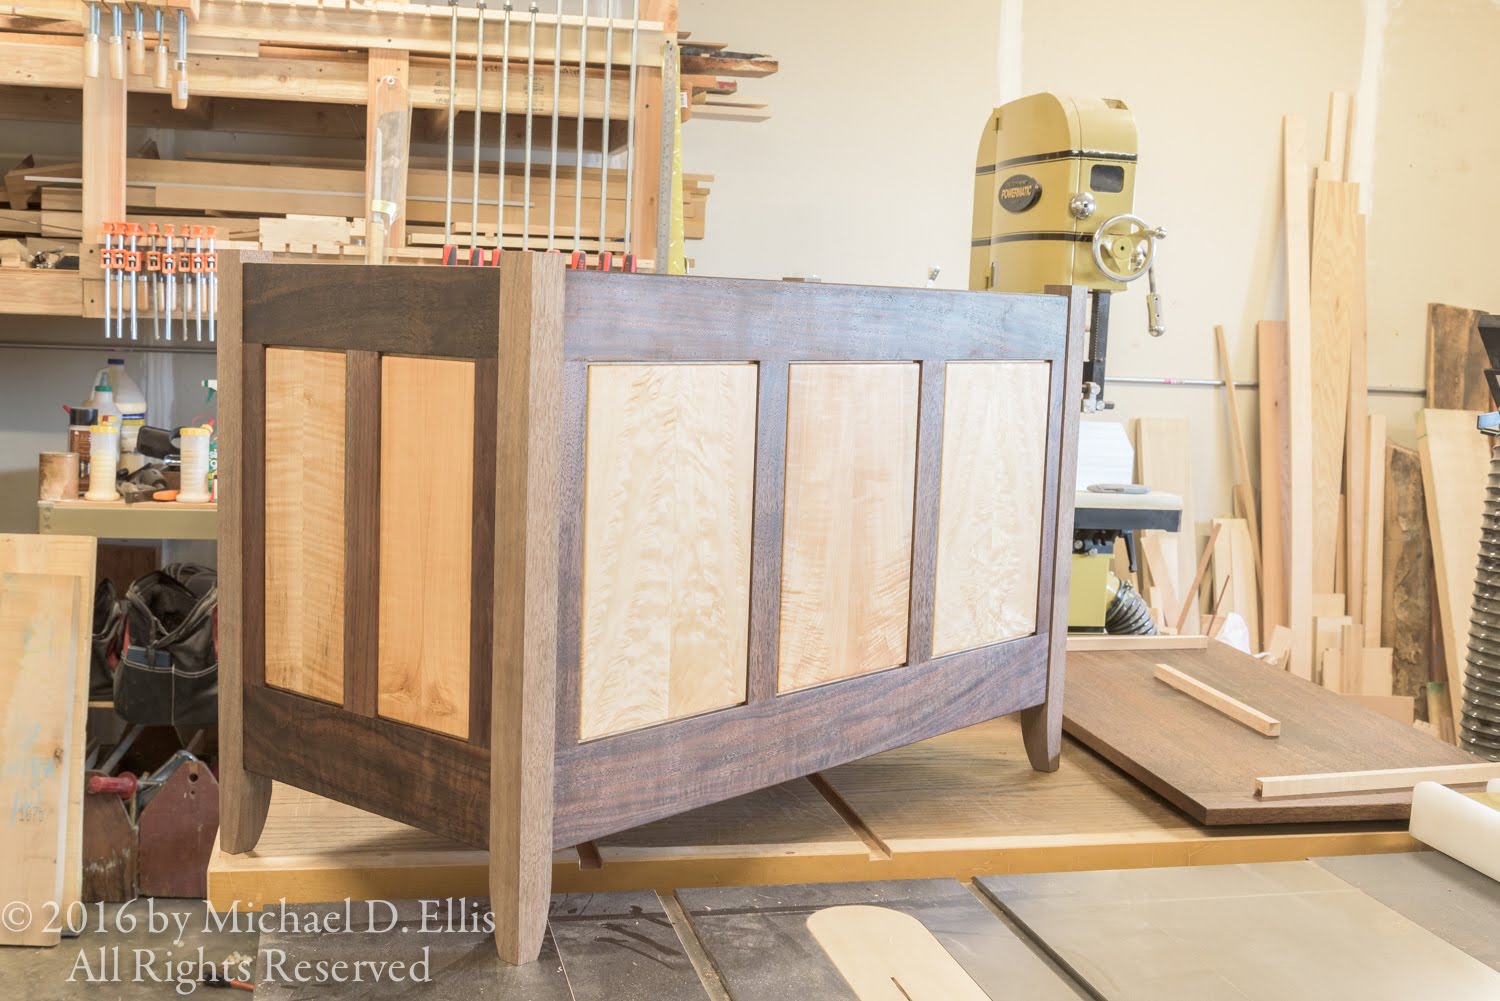
Glue up is relatively easy at this point. I first glued up the front panels and legs.

After the glue had set on the front, My friend Richard dropped by. He had offered to help me with the glue up and I had accepted his generous offer. We set to work applying glue and putting parts together. First one of the side panels, then the floor (no glue here), then the other side and finally the back piece. This all went smoothly except for my forgetting that the legs were not yet glued to the back piece and we had to take that assembly off, glue up the legs to the back, and then re set the assembly. Luckily we noticed this before we had brought any of the parts completely home. I was also using glue with a 20 minute open time.

The other complication I had anticipated and had 4 screw clamps that I had notched a jaw of so I could bring the side stiles tight to the legs if needed.

It was and I did. After the glue set and I had removed the clamps I could plane the ends of the legs flush to the rails. I had left these a hair long.

My low angle block plane worked really well to flush that end grain down.

I skewed the plane to the work and carefully sliced until I had the tops nicely flush.
It looks good!

Next I mortised for the hinges using the template I had made previously and applied 2 coats of wax to the lid and outside of the chest. With that done I re-attached the hardware and stood back to take a look. All in all I am pleased with the way this piece came out. The contrast between the maple and walnut works well and the book matched panels look really nice.


Thanks for taking a look. I hope you have enjoyed seeing how I made this piece. Check back again and see what I am up to next.

After the glue had set on the front, My friend Richard dropped by. He had offered to help me with the glue up and I had accepted his generous offer. We set to work applying glue and putting parts together. First one of the side panels, then the floor (no glue here), then the other side and finally the back piece. This all went smoothly except for my forgetting that the legs were not yet glued to the back piece and we had to take that assembly off, glue up the legs to the back, and then re set the assembly. Luckily we noticed this before we had brought any of the parts completely home. I was also using glue with a 20 minute open time.

The other complication I had anticipated and had 4 screw clamps that I had notched a jaw of so I could bring the side stiles tight to the legs if needed.

It was and I did. After the glue set and I had removed the clamps I could plane the ends of the legs flush to the rails. I had left these a hair long.

My low angle block plane worked really well to flush that end grain down.

I skewed the plane to the work and carefully sliced until I had the tops nicely flush.
It looks good!

Next I mortised for the hinges using the template I had made previously and applied 2 coats of wax to the lid and outside of the chest. With that done I re-attached the hardware and stood back to take a look. All in all I am pleased with the way this piece came out. The contrast between the maple and walnut works well and the book matched panels look really nice.

Here is a look at the inside.
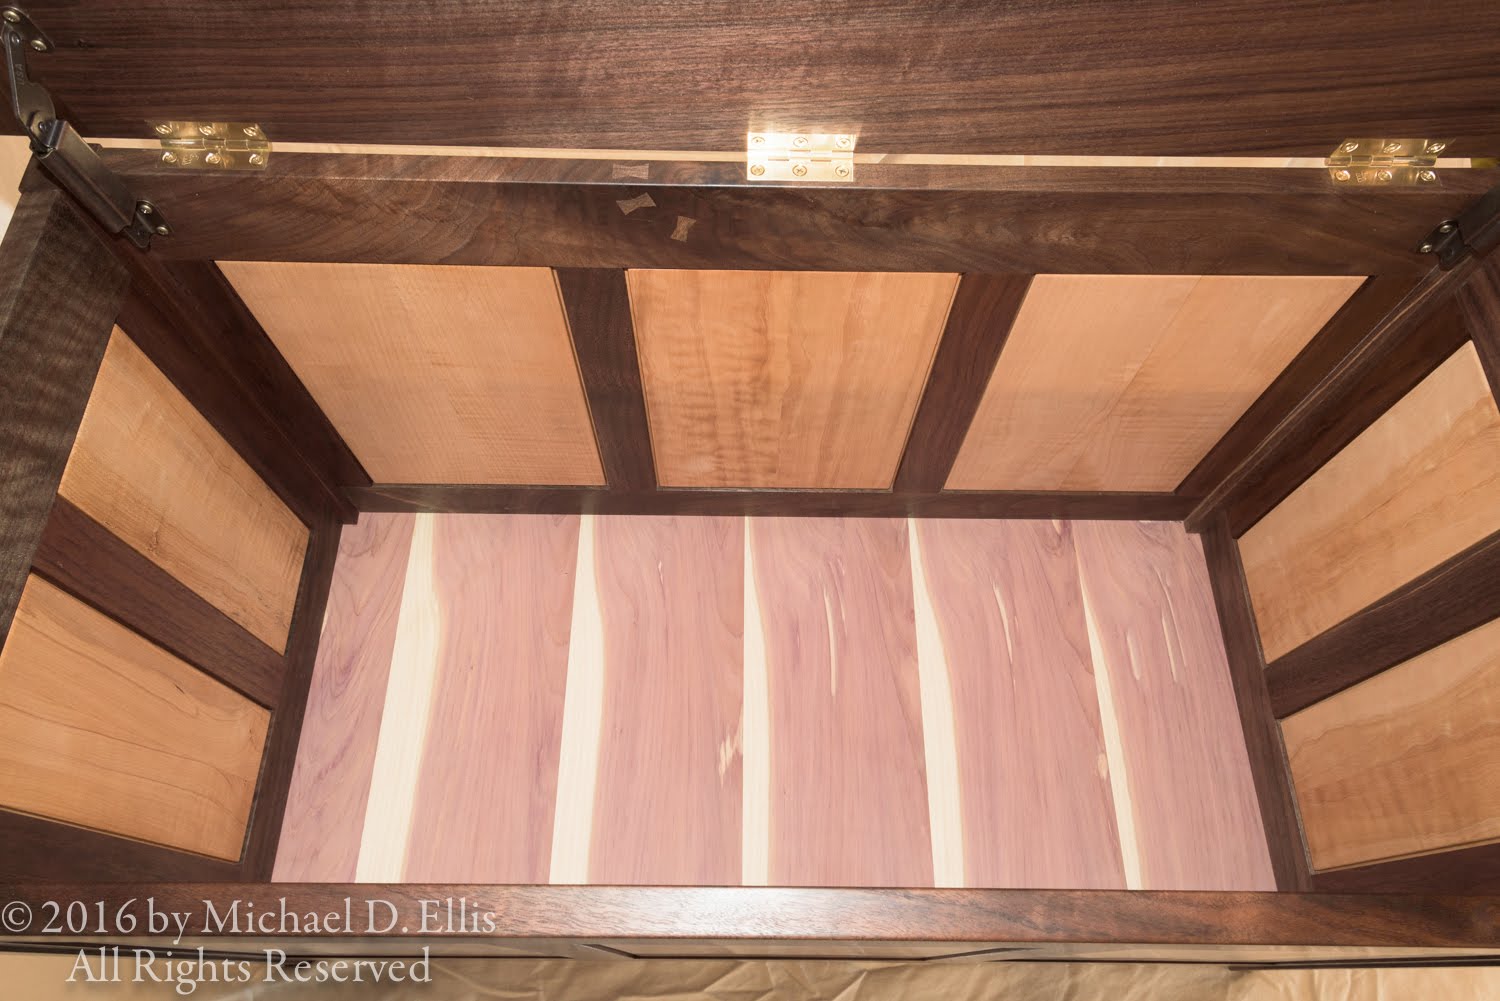
And a look at the hardware.

Thanks for taking a look. I hope you have enjoyed seeing how I made this piece. Check back again and see what I am up to next.
Thursday, November 3, 2016
Getting Ready For Final Assembly
I still have a few things to take care of before I can assemble the chest. I need to detail the edge at the bottom of the leg to protect it if the finished piece is ever dragged around. I also want to apply wax to at least the interior surfaces. Since I am leaving the floor unfinished I don't want to have to apply oil or wax to the surrounding surfaces. I will have a bit of detailing to do after assembly at the top edges of the legs.


The wax adds just a touch more gloss than oil alone. The bottom piece has been waxed.


The blue tape is shimming the guide to a tight sideways fit. I made the side cuts in the template too big initially. Here is the piece set into the bottom.

For the edge detail I scribed a line about 3/32" around the sides of the leg as well as the bottom.

I then used my block plane to bevel the corners.


The finished chamfer.

I taped the inside areas of the legs where I didn't want oil and set to work applying two coats, with 24 hours between.


I also got to work applying wax to the inside surfaces of the already oiled parts.


The wax adds just a touch more gloss than oil alone. The bottom piece has been waxed.

Here are all the parts waiting for the last applications of finish.

One of the last things I do is to inlay a piece with my initials and the year of construction into the bottom of the floor. I made a template by taping the paper pattern to a piece of plastic film, (actually the peel off backing from a piece of 3M lapping film), and cutting out the letters and numbers with a razor knife. I then could put the template on the workpiece and pencil in the outlines. Then I practiced, experimented, got frustrated multiple times, called up distant memories of carving episodes of "The Woodwright's Shop", and eventually made one piece I was somewhat happy with.

As I practice carving more I expect that I will be confident enough to carve an actual part, but not today! I then made a template to guide the router to excavate the mortise.


As I practice carving more I expect that I will be confident enough to carve an actual part, but not today! I then made a template to guide the router to excavate the mortise.

The blue tape is shimming the guide to a tight sideways fit. I made the side cuts in the template too big initially. Here is the piece set into the bottom.

Now it is ready for final glue up.
Wednesday, November 2, 2016
Mortise & Tenon Magazine issue 2
Available for pre order now at the Mortise & Tenon website. Check their site for content etc. I recommend this magazine if you are interested in woodworking hand tool use, pre-industrial woodworking technology, antique furniture or conservation of same.
Tuesday, November 1, 2016
Finishing The Floor
Now, back to putting the piece together, I still have to notch the floor corners and run a rabbet around the bottom face to fit into the groove in the bottom rails and legs. I laid this out on the floor itself and checked my measurements and calculations several times before going any farther.

I used the router to make the rabbet. Here I am setting the depth.

I could use the router fence for the long edges.

After that was done I cut the corners out with a jig saw.

I then made the rabbet for the inside corners. I made a simple guide so I would get a neat rabbet.

After making the rabbet I used my block plane to round over the edges of the rabbet. I know this will not be visible without turning the piece over but I want the work to look "neat" everywhere. With the floor now ready I make a test fit with all the parts.


With everything fitting well, I disassemble one last time and prepare for glue up.
Thanks for taking a look. I hope you check back again and see how it's going.


I could use the router fence for the long edges.


I then made the rabbet for the inside corners. I made a simple guide so I would get a neat rabbet.

After making the rabbet I used my block plane to round over the edges of the rabbet. I know this will not be visible without turning the piece over but I want the work to look "neat" everywhere. With the floor now ready I make a test fit with all the parts.
The inside

The bottom

View of the bottom inside corner

And the first time all the parts are assembled together
Thanks for taking a look. I hope you check back again and see how it's going.
Subscribe to:
Comments (Atom)